Adding Fancy OG Images to your NextJS MDX Blog
Tired of having to build nice looking OG images for every platform manually? Automatically create shareable OG images for every blog post with @vercel/og.
A lifetime ago, I was primarily a UX designer. Nothing was more fun than openeing my design tool of choice and creating a beautiful, shareable image for a blog post.
Nowawdays, with engineering as the priority, I don't have time to create these image manually, but I still want them to look good.
Enter @vercel/og. 🚀
With this library from Vercel, we'll get set up to dynamically generate nice-looking shareable images for our posts.
Getting Started
First, we'll need to install the package.
$ yarn add @vercel/og
Building the base API Route
To start, we'll create a file at /pages/api/og.js. This will be our base API route for generating our images.
import { ImageResponse } from '@vercel/og';
export const config = {
runtime: 'experimental-edge',
};
export default async function handler() {
return new ImageResponse(
(
<div
style={{
display: 'flex',
background: '#fff',
width: '100%',
height: '100%',
flexDirection: 'column',
justifyContent: 'center',
alignItems: 'center',
}}
>
<p>Hello world</p>
</div>
),
{
width: 1200,
height: 630,
},
);
}
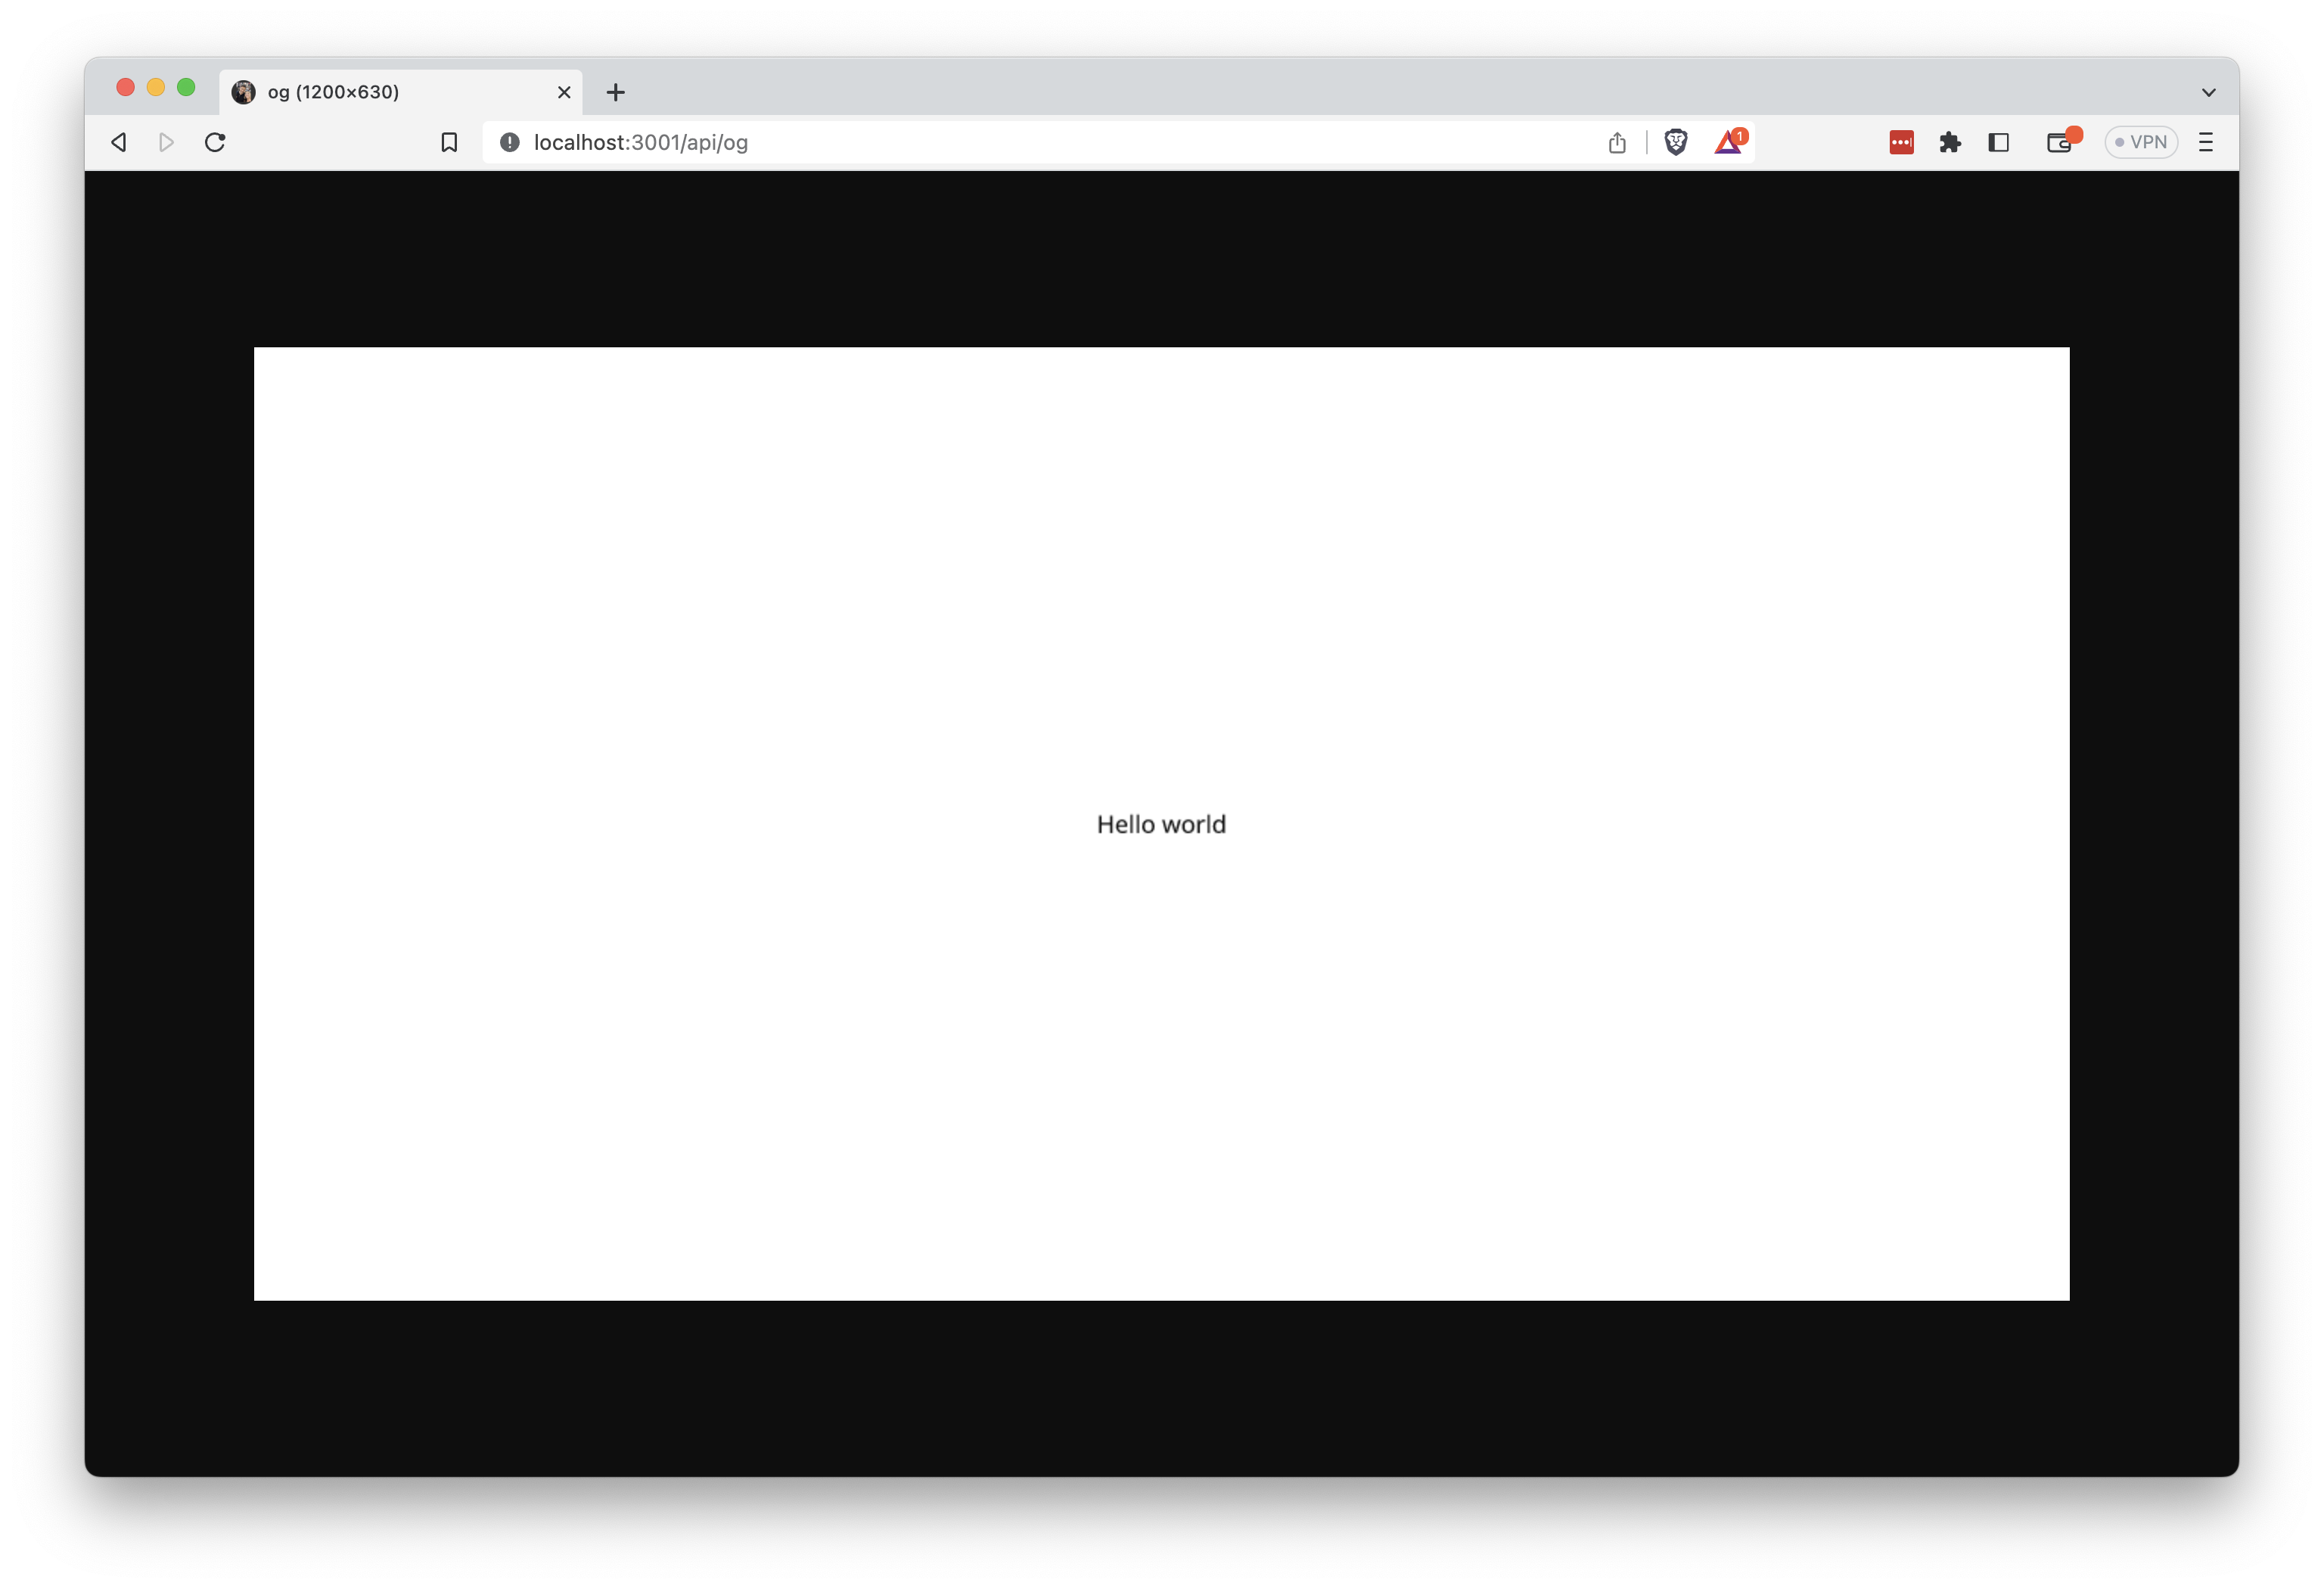
Visiting http://localhost:3000/api/og should now render a simple image with the text "Hello world". Like this:
Note: Image generation can be slow...
Adding a custom background image
I use TailwindCSS for my styling, and @vercel/og has experimental support for it, so let's try it out.
import { ImageResponse } from '@vercel/og';
export const config = {
runtime: 'experimental-edge',
};
export default async function handler() {
return new ImageResponse(
(
<div
style={{
display: 'flex',
background: '#fff',
width: '100%',
height: '100%',
flexDirection: 'column',
justifyContent: 'center',
alignItems: 'center',
background: `linear-gradient( 135deg, #FD6585 10%, #0D25B9 100%)`
}}
>
<div tw="flex relative w-[100%] h-[100%]">
<p tw="text-white text-7xl tracking-tighter top-10 right-10 absolute text-right max-w-4xl">Hello World</p>
</div>
</div>
),
{
width: 1200,
height: 630,
},
);
}
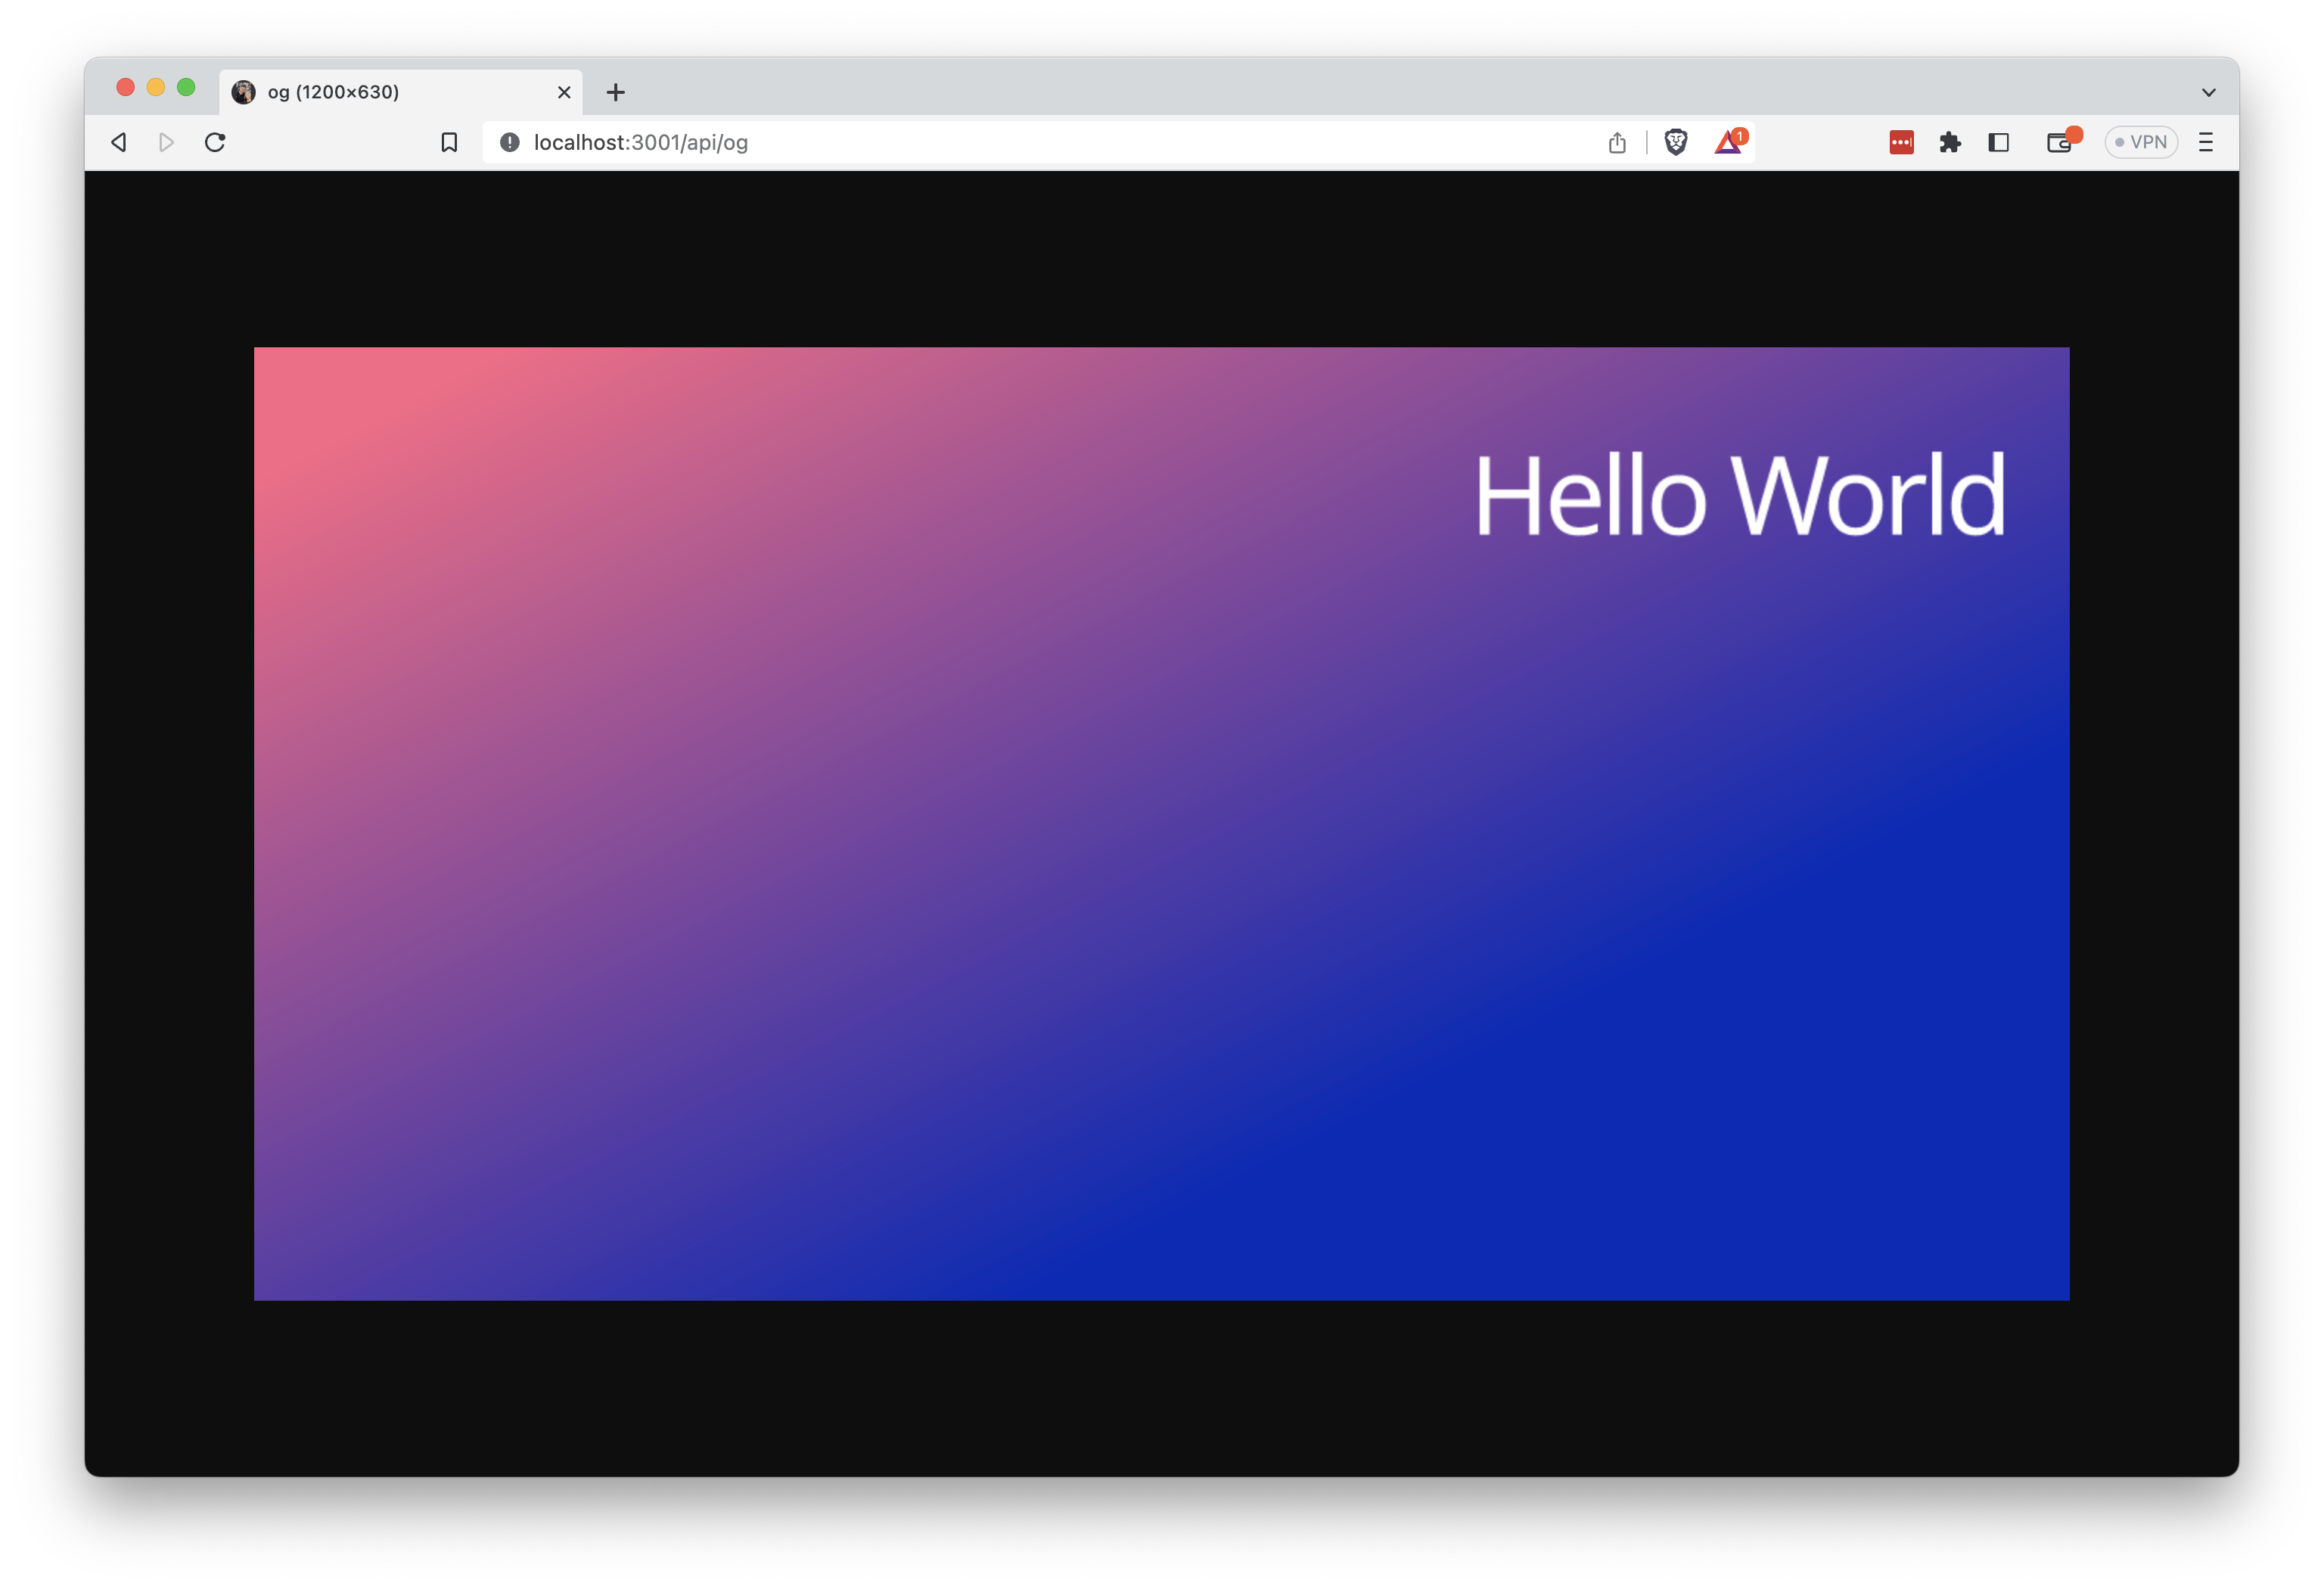
This should land you with something that looks like this:
Handling custom sizes
Now, not all platforms want the same size image, so we'll want to customize the returned size based on the platforms we're targeting. Let's go ahead and make that dynamic.
import { ImageResponse } from '@vercel/og';
export const config = {
runtime: 'experimental-edge',
};
export default async function handler(req) {
const { searchParams } = req.nextUrl;
const width = searchParams.get('w') ? parseInt(searchParams.get('w'), 10) : 1200;
const height = searchParams.get('h') ? parseInt(searchParams.get('h'), 10) : 630;
return new ImageResponse(
(
<div
style={{
display: 'flex',
background: '#fff',
width: '100%',
height: '100%',
flexDirection: 'column',
justifyContent: 'center',
alignItems: 'center',
background: `linear-gradient( 135deg, #FD6585 10%, #0D25B9 100%)`
}}
>
<div tw="flex relative w-[100%] h-[100%]">
<p tw="text-white text-7xl tracking-tighter top-10 right-10 absolute text-right max-w-4xl">Hello World</p>
</div>
</div>
),
{
width,
height,
},
);
}
This should let you query your image with new parameters. For example if you wanted and 800x800 image, simply query the url http://localhost:3000/api/og?w=800&h=800, and you should get this:
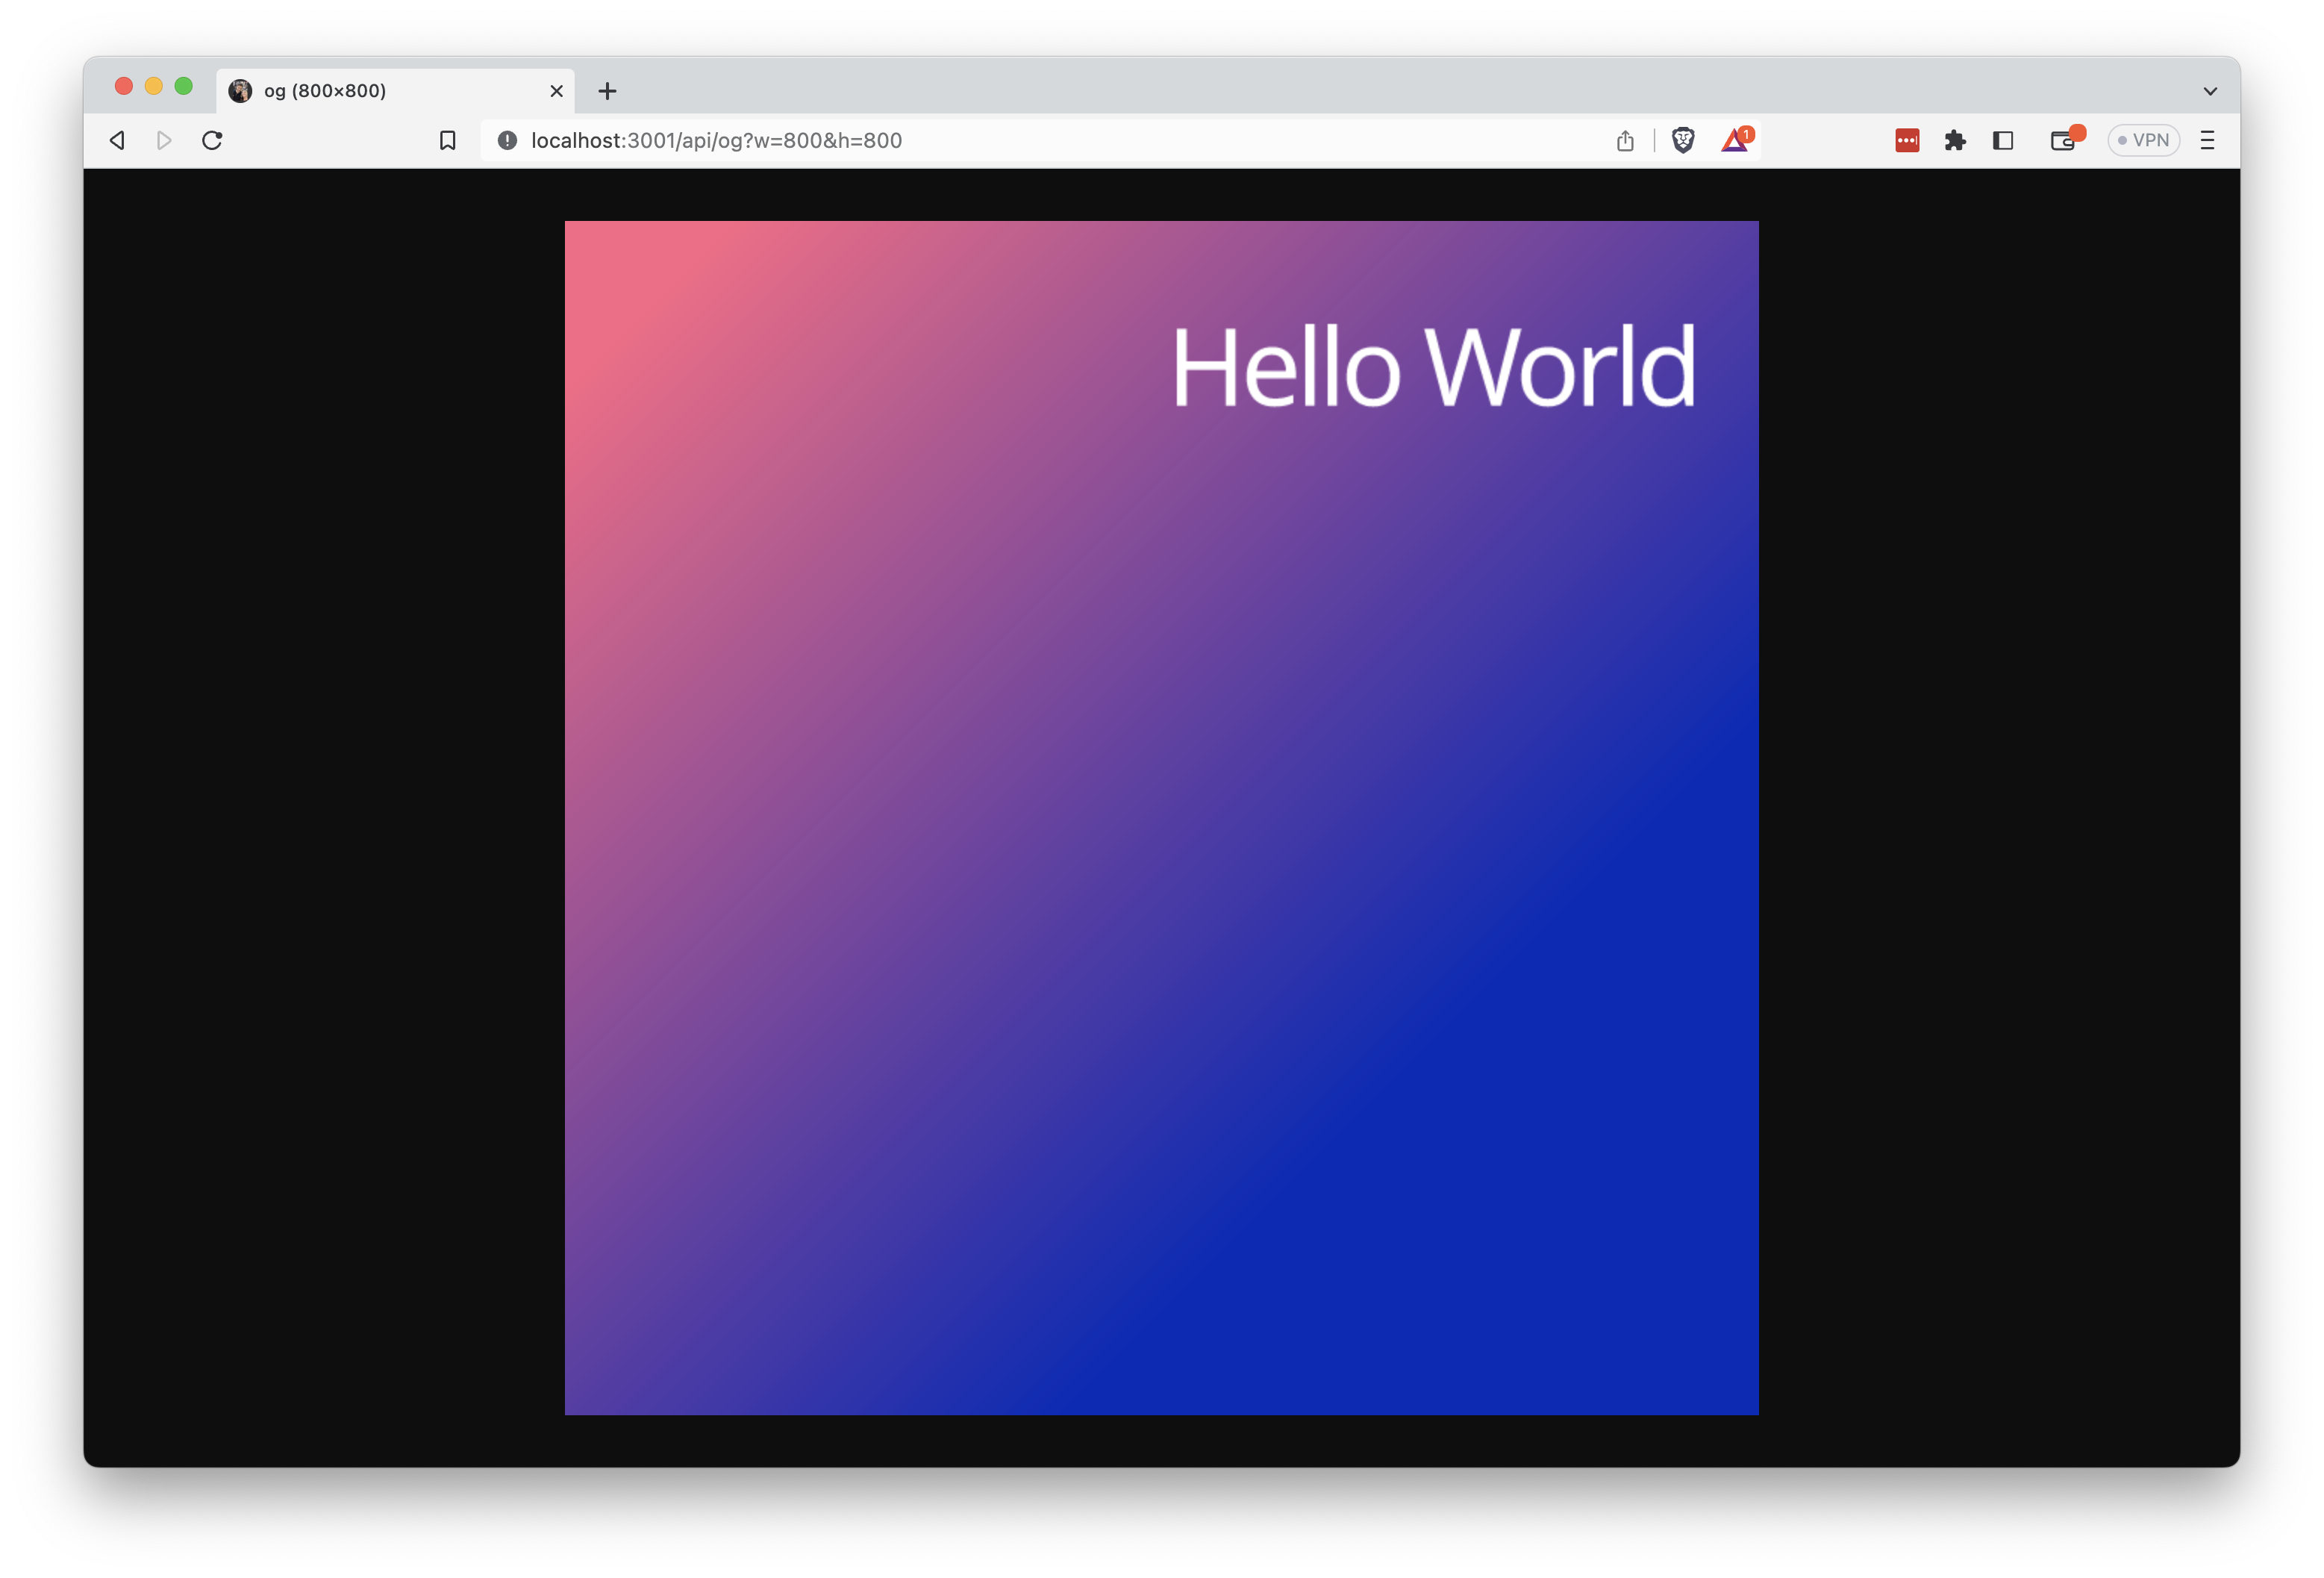
See where we're going with this? 😎
Enabling dynamic text in your OG images
Now that we're familiar with adding parameters, let's add dynamic text to our image. While we're at it, let's add a little textShadow to make it pop.
import { ImageResponse } from '@vercel/og'
export const config = {
runtime: 'experimental-edge',
}
export default async function handler(req) {
const { searchParams } = req.nextUrl
const text = searchParams.get('c') || 'Check out tybarho.com!'
const width = searchParams.get('w')
? parseInt(searchParams.get('w'), 10)
: 1200
const height = searchParams.get('h')
? parseInt(searchParams.get('h'), 10)
: 630
return new ImageResponse(
(
<div
style={{
display: 'flex',
background: '#fff',
width: '100%',
height: '100%',
flexDirection: 'column',
justifyContent: 'center',
alignItems: 'center',
background: `linear-gradient( 135deg, #FD6585 10%, #0D25B9 100%)`,
}}
>
<div tw="flex relative w-[100%] h-[100%] p-8">
<p
tw="text-white text-7xl tracking-tighter text-right"
style={{ textShadow: '1px 1px 30px #00000070' }}
>
{text}
</p>
</div>
</div>
),
{
width,
height,
}
)
}
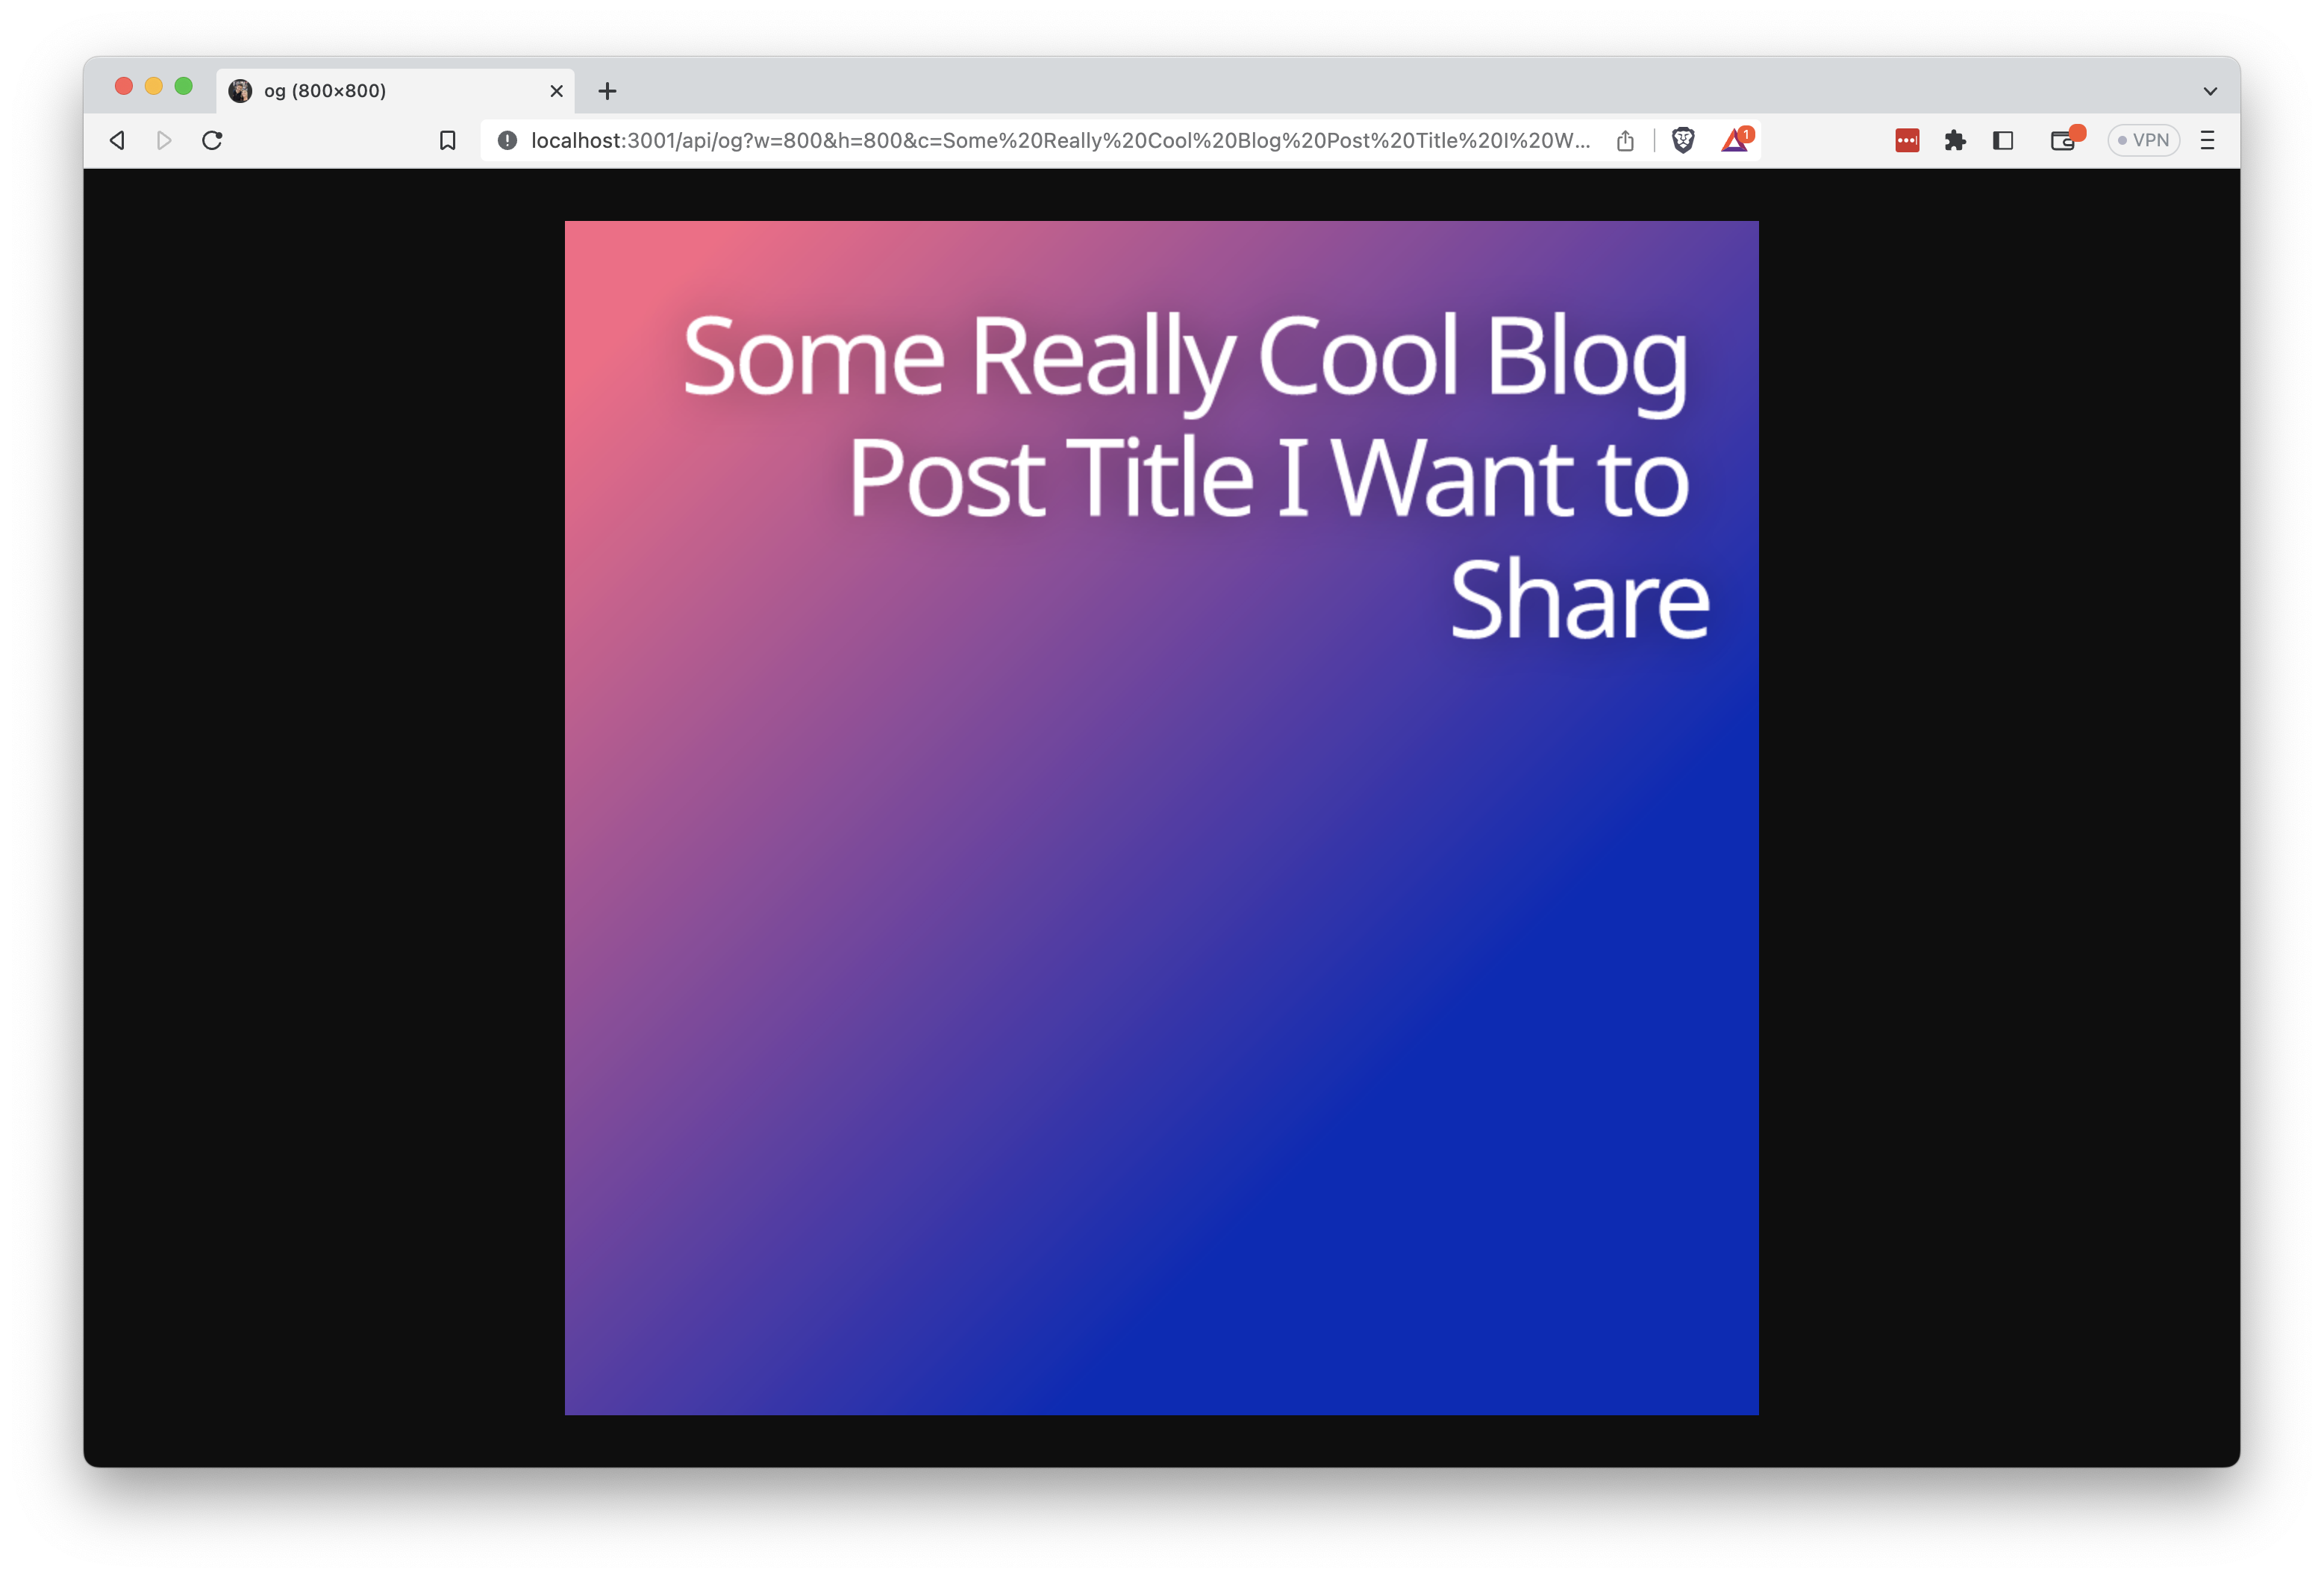
That should give you something that looks like this:
Adding a friendly avatar
I'd also like my ugly mug to show up on these posts, to give them a little more personality. Let's add that in.
We'll be a little fancy, and use a dynamic Github username to pull the current profile pic from Github.
import { ImageResponse } from '@vercel/og'
export const config = {
runtime: 'experimental-edge',
}
export default async function handler(req) {
const { searchParams } = req.nextUrl
const text = searchParams.get('c') || 'Check out tybarho.com!'
const username = searchParams.get('username') || 'tbarho'
const width = searchParams.get('w')
? parseInt(searchParams.get('w'), 10)
: 1200
const height = searchParams.get('h')
? parseInt(searchParams.get('h'), 10)
: 630
return new ImageResponse(
(
<div
style={{
display: 'flex',
background: '#fff',
width: '100%',
height: '100%',
flexDirection: 'column',
justifyContent: 'center',
alignItems: 'center',
background: `linear-gradient( 135deg, #FD6585 10%, #0D25B9 100%)`,
}}
>
<div tw="flex relative w-[100%] h-[100%] p-8">
<p
tw="text-white text-7xl tracking-tighter text-right"
style={{ textShadow: '1px 1px 30px #00000070' }}
>
{text}
</p>
<div tw="bg-white rounded-full w-64 h-64 absolute bottom-8 left-8 flex justify-center items-center shadow-xl">
<img tw="w-60 h-60 rounded-full" src={`https://www.github.com/${username}.png`} />
</div>
</div>
</div>
),
{
width,
height,
}
)
}
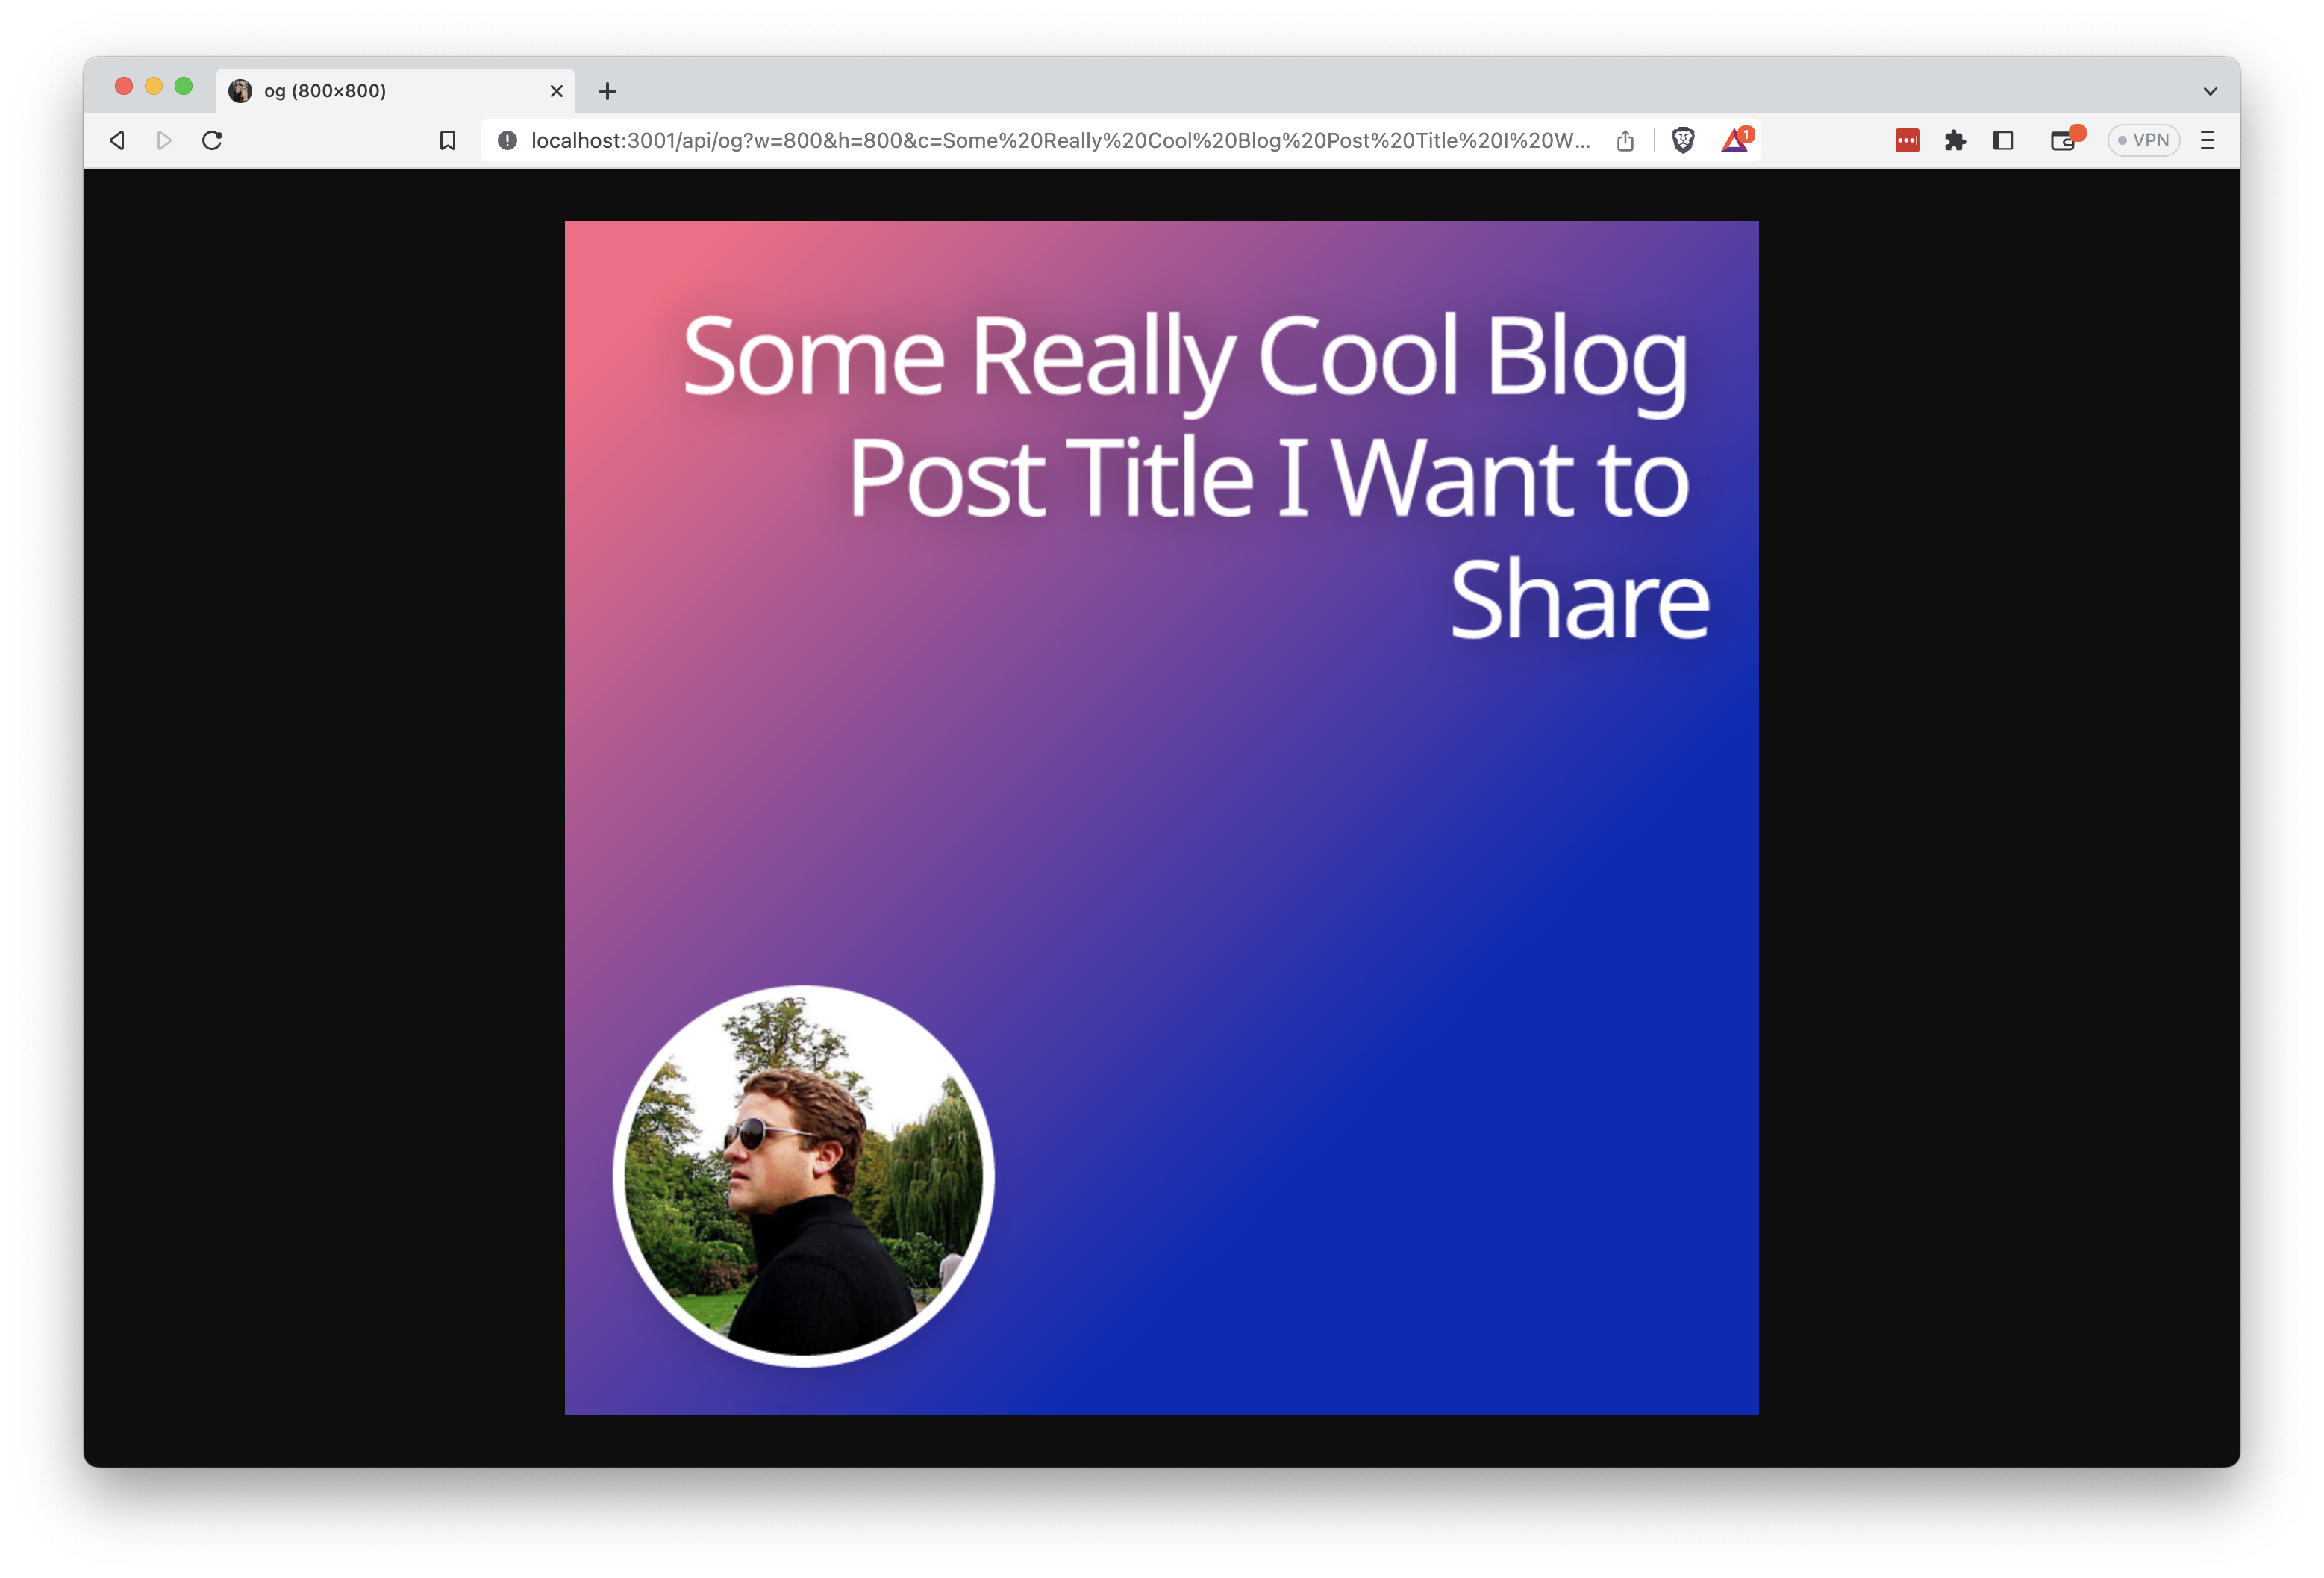
This should result in something that looks like this...
Adding automatic OG Images to our blog route
Finally, let's add these images to our blog route.
I need a number of different sizes to be generated for different social networks, so I'm going to create a little helper function that I can import into my pages.
const BASE_URL = __DEV__ ? 'http://localhost:3000' : 'https://www.mysite.com'
export const ogSizes = [
{
path: 'Facebook',
width: 940,
height: 788,
},
{
path: 'Instagram',
width: 1080,
height: 1080,
},
{
path: 'LinkedIn',
width: 1200,
height: 1200,
},
{
path: 'Twitter',
width: 1600,
height: 900,
},
{
path: 'Pinterest',
width: 1000,
height: 1500,
},
];
The path attribute is really just there for my own reference.
Next, let's update the layout file for our blog posts. If you haven't set up next-seo yet, check out this article on setting up NextSeo on your site.
// ... other imports
import { ogSizes, BASE_URL } from '../../lib/ogSizes'
export default function Page({ meta }) {
// ... other code
const title = `${meta.title} - ${meta.author}`;
const description = meta.description;
const canonical = `https://www.tybarho.com${router.asPath}`;
// Map our images helper
const images = ogSizes.map(({ width, height }) => ({
url: `${BASE_URL}/api/og?c=${encodeURIComponent(meta.title)}&username=[your_gh_username]&w=${width}&h=${height}`,
width,
height,
type: 'image/png'
}));
return (
<>
<NextSeo
title={title}
description={description}
canonical={canonical}
openGraph={{
url: canonical,
title,
description,
images,
}}
/>
{/* ... other page code*/}
</>
);
}
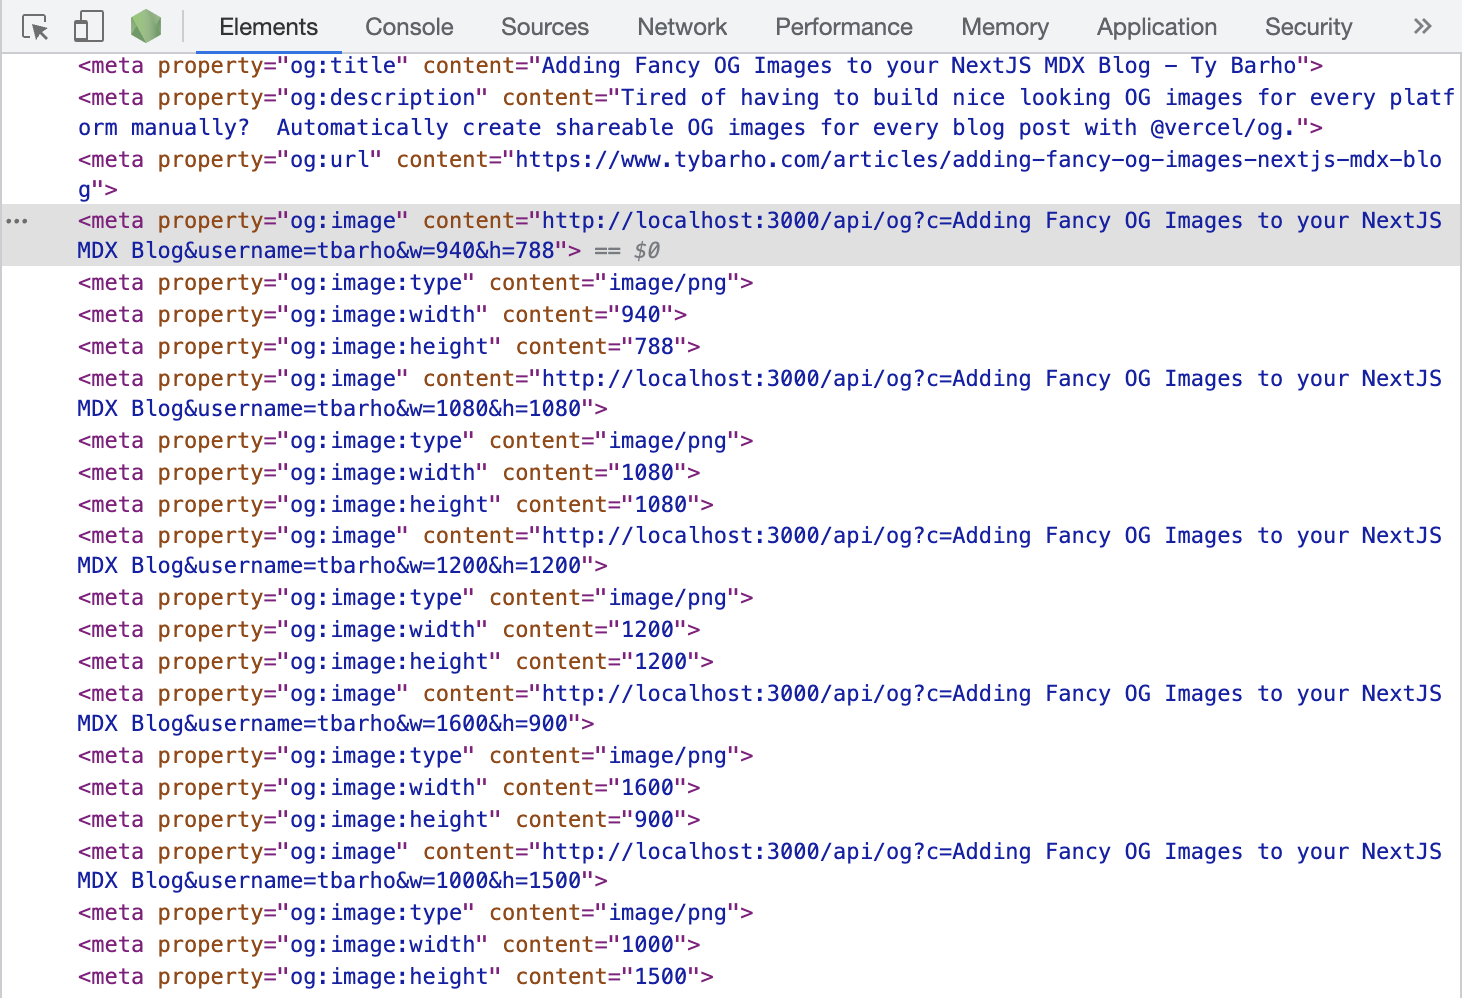
Now, if you check out the developer console in your browser, you should see the OG image tags being added to your <head> tag.
Wrap Up
So there you go. Automatic, "fancy," OG images on your NextJS site. Feel free to experiment and go as hog-wild as you want.
I recommend checking out the @vercel/og docs for more interesting things you can do.
Happy coding! ✨