Adding a Sitemap & SEO to your NextJS Statically Generated Site
Today I'm going to do some basic SEO work for this site. I thought I would take the opportunity to log my how-to here. More content, right? 😉
Here are the additions I'll be making:
- A statically generated sitemap & robots.txt
- Basic SEO & OpenGraph data to all pages & articles
To implement this stuff, I'll be using 2 excellent packages:
Let's get started.
Adding a sitemap in your NextJS site
First thing you'll want to do is add the package to your site
$ yarn add next-sitemap
Then, in your package.json file, you're going to want to set up a postbuild script. Mine looks like this:
{
"name": "tybarho.com",
...
"scripts": {
"dev": "next dev",
"build": "next build",
"start": "next start",
"lint": "next lint",
"postbuild": "next-sitemap"
},
}
Now, I want to be sure that all of my markdown files are indexed to my generated sitemaps. Sitemaps are generated after NextJS statically builds my site. For some context, here is my rough folder structure:
/src
/components
/content
/articles
slug-of-article.mdx
/lessons
slug-of-lesson.mdx
/pages
index.js
/articles
[slug].js
index.js
/lessons
[slug].js
index.js
So I need to tell next-sitemap about the files in /content/articles and /content/lessons. Luckily, I can do this with a custom config.
To add a custom config, in your project root, add a file called next-sitemap.config.js. For my site, this will be the contents of that file.
const fs = require('fs')
const path = require('path')
module.exports = {
siteUrl: 'https://www.tybarho.com',
sitemapSize: 7000,
exclude: [],
generateRobotsTxt: true,
additionalPaths: async (config) => {
let result = []
const articles = fs.readdirSync(path.resolve('./src/content/articles'))
const lessons = fs.readdirSync(path.resolve('./src/content/lessons'))
for (const article of articles) {
result.push(
await config.transform(
config,
`/articles/${article.replace('.mdx', '')}`
)
)
}
for (const lesson of lessons) {
result.push(
await config.transform(config, `/lessons/${lesson.replace('.mdx', '')}`)
)
}
return result
},
robotsTxtOptions: {
policies: [
{
userAgent: '*',
allow: '/',
},
],
},
}
To test it out, run:
$ yarn postbuild
This should generate files at /public/sitemap.xml and /public/sitemap-0.xml that you can review to make sure they look right, and all your pages are included.
And that's that!
NOTE: If you're not seeing every page in your sitemap, try re-running the fullyarn buildcommand to generate a new/.distfolder.
Adding decent SEO to your NextJS site
Now, to add some SEO & OpenGraph data to my pages, I'm going to use the next-seo package.
Start by installing it:
$ yarn add next-seo
Now, the first thing we want to do is add some base SEO to every page on our site. We can do this by editing our pages/_app.jsx. If you don't have one, create one.
import { useEffect, useRef } from 'react'
import { DefaultSeo } from 'next-seo'
import { Footer } from '@/components/Footer'
import { Header } from '@/components/Header'
import '@/styles/tailwind.css'
import 'focus-visible'
function usePrevious(value) {
let ref = useRef()
useEffect(() => {
ref.current = value
}, [value])
return ref.current
}
const baseUrl = 'https://www.tybarho.com'
export default function App({ Component, pageProps, router }) {
let previousPathname = usePrevious(router.pathname)
return (
<>
<DefaultSeo
openGraph={{
type: 'website',
locale: 'en_US',
url: `${baseUrl}`,
site_name: 'TyBarho.com',
}}
/>
<div className="fixed inset-0 flex justify-center sm:px-8">
<div className="flex w-full max-w-7xl lg:px-8">
<div className="w-full bg-white ring-1 ring-zinc-100 dark:bg-zinc-900 dark:ring-zinc-300/20" />
</div>
</div>
<div className="relative">
<Header />
<main>
<Component previousPathname={previousPathname} {...pageProps} />
</main>
<Footer />
</div>
</>
)
}
The main thing here is the <DefaultSeo ... /> component we're adding. There are a ton of options you can configure, but we're just starting with some base ones.
Now, let's add some custom SEO data to our home page.
// Other imports
import { NextSEO } from 'next-seo';
// ...
export default function Home({ articles }) {
const title = 'Ty Barho'
const description = "I'm Ty, a software designer and entrepreneur based in Georgetown, Texas. I like to make things that help people."
const canonical = 'https://www.tybarho.com';
return (
<>
<NextSEO
title={title}
description={description}
canonical={canonical}
openGraph={{
url: canonical,
title,
description,
}}
/>
<Container className="mt-9">
{/* rest of code */}
</>
);
}
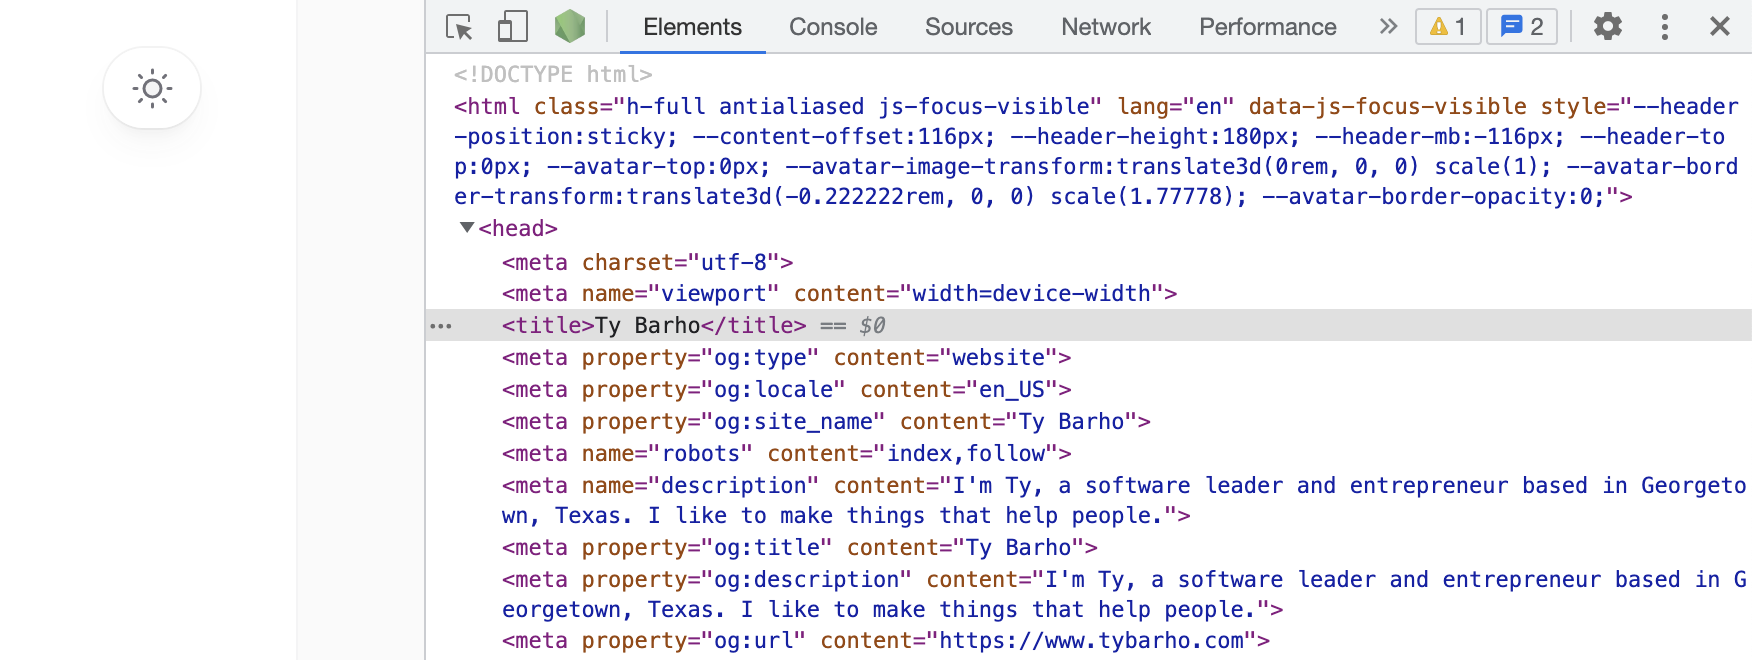
Now, open your developer console to verify the new SEO data is on your page.
Looks like it worked! ✨🦄
Now you can easily add SEO data to any page on your NextJS site.
Checking your OG Data
Once you've deployed your site, or using a tool like ngrok, you probably want to see what your OG data is going to look like on different platforms.
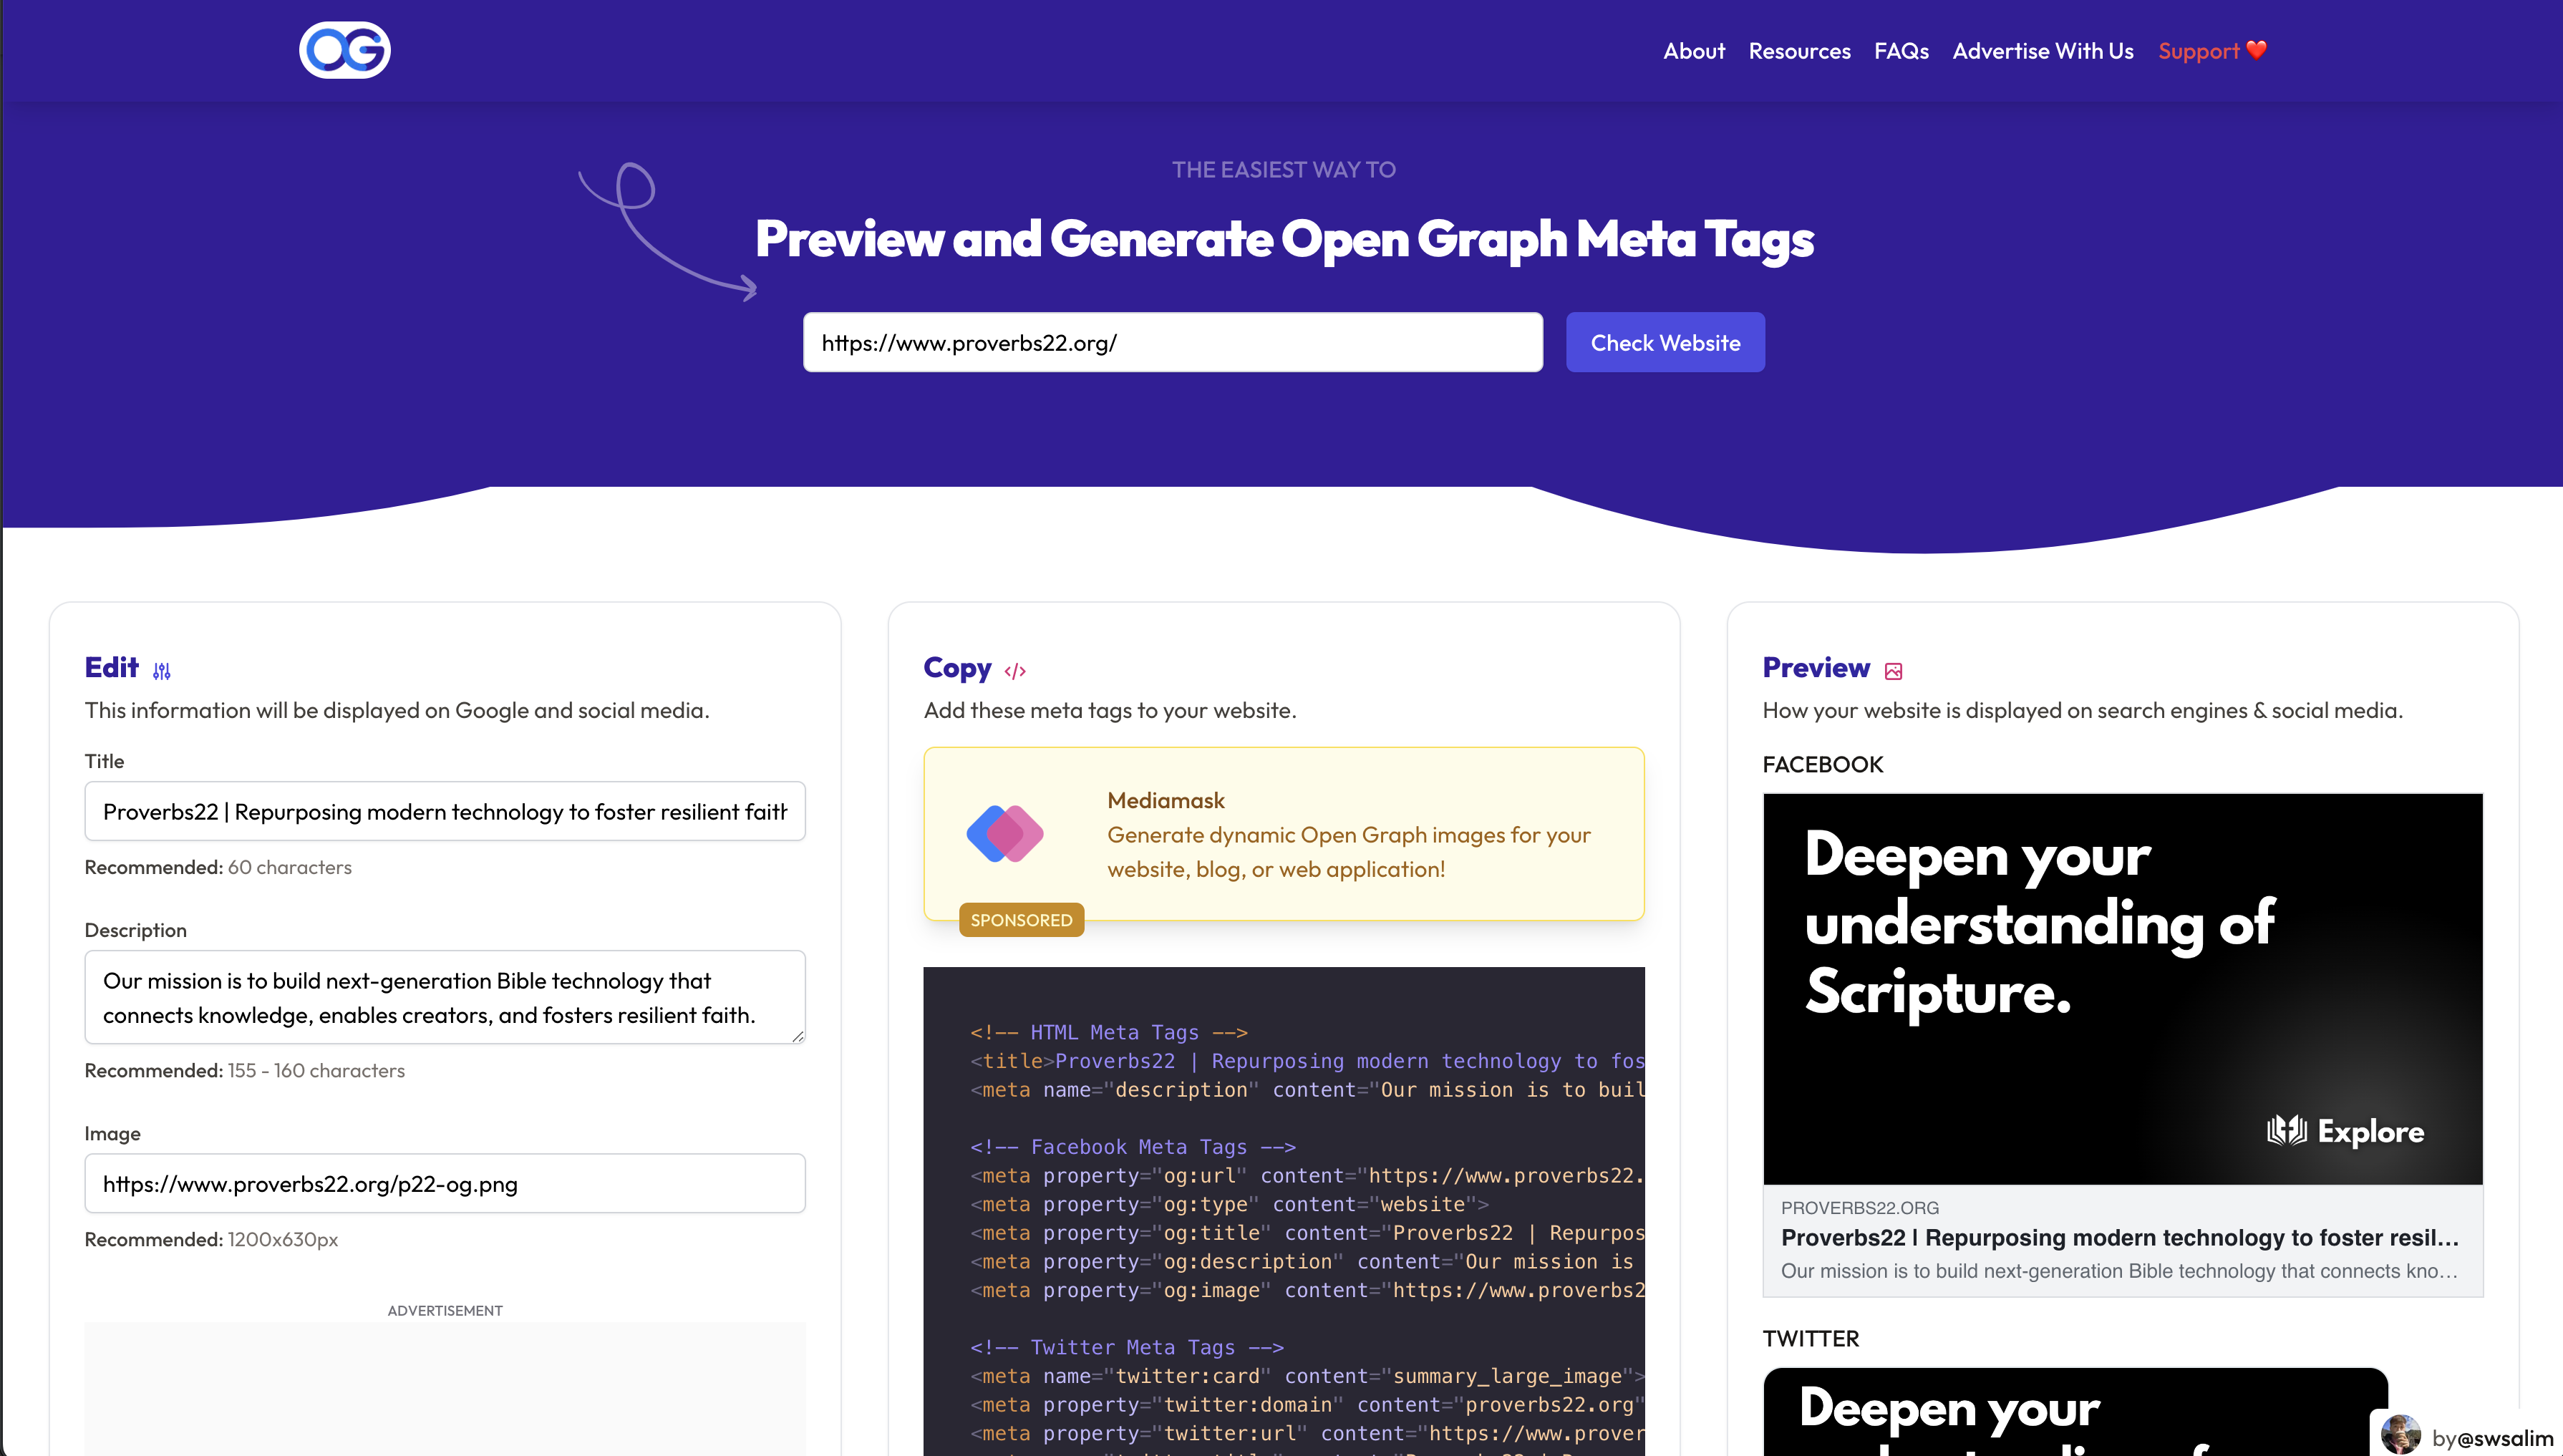
My favorite site for this is OpenGraph.XYZ.
Just put your URL in, and you'll get a nice preview of what your OG data will look like on different platforms.
And that's that! Happy SEO-ing! 🚀


